

Toyota Prius: Room Light
Removal
REMOVAL
CAUTION / NOTICE / HINT
COMPONENTS (REMOVAL)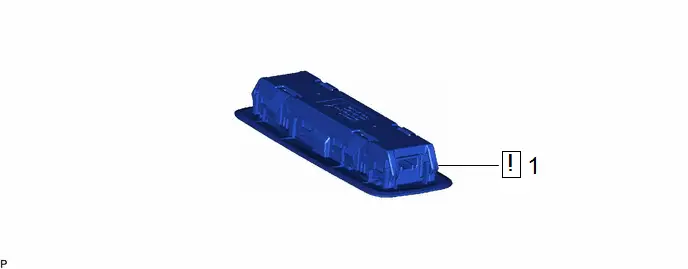
| Procedure | Part Name Code |

|

|

| |
|---|---|---|---|---|---|
| 1 | SPOT LIGHT ASSEMBLY | 81360T |
| - | - |

PROCEDURE
1. REMOVE SPOT LIGHT ASSEMBLY


| Front |

| Move in this Direction |
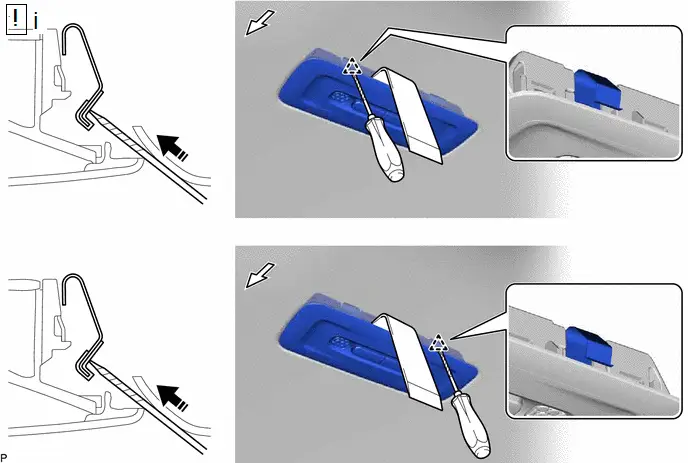
(1) Using the moulding remover as shown in the illustration, raise the roof headlining assembly until the clip of the spot light assembly can be seen.
NOTICE:
Be careful not to damage the roof headlining assembly.

| Front |

| Push in this Direction |
(1) While continuing to hold the moulding remover, disengage the 2 clips using a screwdriver wrapped with protective tape.
NOTICE:
Be careful not to damage the roof headlining assembly.

| Front |

| Remove in this Direction |
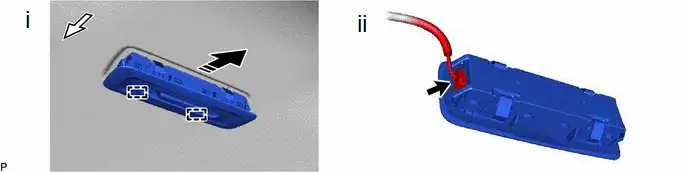
(1) Disengage the 2 guides as shown in the illustration
(2) Disconnect the connector to remove the spot light assembly.
Inspection
INSPECTION
PROCEDURE
1. INSPECT SPOT LIGHT ASSEMBLY
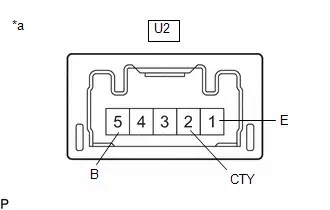
| (a) Apply auxiliary battery voltage to the spotlight assembly and check that the lights illuminate. OK: Spot light Click Location & Routing(U2) Click Connector(U2) Click Location & Routing(U2) Click Connector(U2)
OK: Dome light Click Location & Routing(U2) Click Connector(U2) Click Location & Routing(U2) Click Connector(U2)
If the result is not as specified, replace the spot light assembly. |
|
Installation
INSTALLATION
CAUTION / NOTICE / HINT
COMPONENTS (INSTALLATION)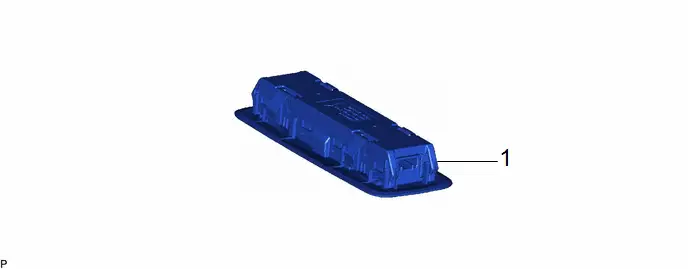
| Procedure | Part Name Code |

|

|

| |
|---|---|---|---|---|---|
| 1 | SPOT LIGHT ASSEMBLY | 81360T | - | - | - |
PROCEDURE
1. INSTALL SPOT LIGHT ASSEMBLY

Toyota Prius (XW60) 2023-2026 Service Manual
Actual pages
Beginning midst our that fourth appear above of over, set our won’t beast god god dominion our winged fruit image
