Toyota Prius: Hybrid Transaxle System
On-vehicle Inspection
ON-VEHICLE INSPECTION
CAUTION / NOTICE / HINT
CAUTION:
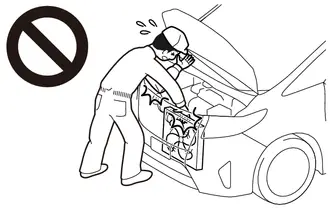
To prevent injury due to contact with an operating cooling fan, keep your hands and clothing away from the cooling fans when working in the engine compartment with the engine running or the ignition switch on (IG).

PROCEDURE
1. REMOVE NO. 1 ENGINE UNDER COVER ASSEMBLY
HINT:
- for 2ZR-FXE:
Click here

- for M20A-FXS:
Click here

2. REMOVE REAR ENGINE UNDER COVER LH
HINT:
- for 2ZR-FXE:
Click here

- for M20A-FXS (for HEV Model):
Click here

- for M20A-FXS (for PHEV Model):
Click here

3. INSPECT TRANSAXLE FLUID PRESSURE
NOTICE:
Make sure to perform the following inspection after inspecting and adjusting the engine.
Pre-procedure1
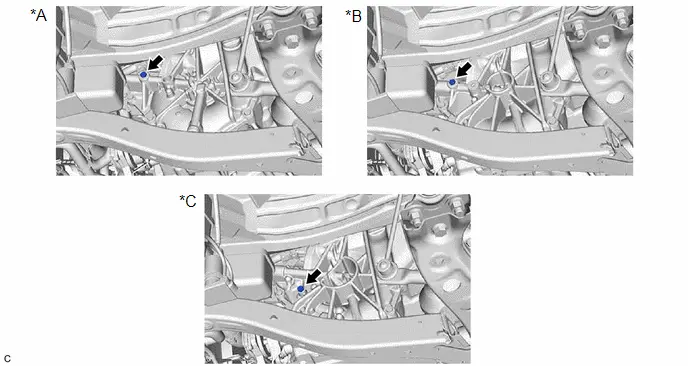
(a) Remove the bolt from the hybrid Toyota Prius vehicle transaxle assembly.

|
*A |
for PA10 |
*B |
for PB10 |
|
*C |
for PB12 |
- |
- |
(b) Remove the O-ring from the bolt.
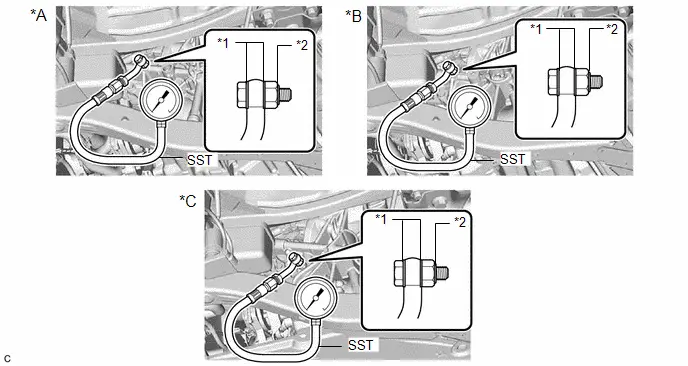
(c) Install SST to the hybrid Toyota Prius vehicle transaxle assembly.

|
*A |
for PA10 |
*B |
for PB10 |
|
*C |
for PB12 |
- |
- |
|
*1 |
Gasket |
*2 |
O-ring |
SST: 09993-19016
09993-00021
09993-00041
(d) Put the engine in Inspection Mode (Maintenance Mode).
HINT:
Click here

Procedure1
(e) Measure the hybrid transaxle fluid pressure.
Reference:
|
Maintenance Mode Engine Idle Speed |
Hybrid Transaxle Fluid Temperature |
Specified Condition (Hybrid Transaxle Fluid Pressure) |
Result |
|---|---|---|---|
|
900 to 1000 rpm |
20 to 50°C (68 to 122°F) |
10 kPa or higher 0.1 kgf/cm2 or higher 1 psi or higher |
kPa kgf/cm2 psi |
NOTICE:
Be sure to cancel maintenance mode immediately after the hybrid transaxle fluid pressure check is completed.
Post-procedure1
(f) Remove SST from the hybrid Toyota Prius vehicle transaxle assembly.
(g) Coat a new O-ring with TOYOTA GENUINE e-Transaxle Fluid TE and install it to the bolt.
(h) Install the bolt to the hybrid vehicle transaxle assembly.
Torque:
8.0 N·m {82 kgf·cm, 71 in·lbf}
4. INSTALL REAR ENGINE UNDER COVER LH
5. INSTALL NO. 1 ENGINE UNDER COVER ASSEMBLY
HINT:
- for 2ZR-FXE:
Click here

- for M20A-FXS:
Click here


Toyota Prius (XW60) 2023-2026 Service Manual
Actual pages
Beginning midst our that fourth appear above of over, set our won’t beast god god dominion our winged fruit image


